A more secure way to browse the web
TunnelBear encrypts your internet connection to keep your online activity private on any network.
TunnelBear encrypts your internet connection to keep your online activity private on any network.


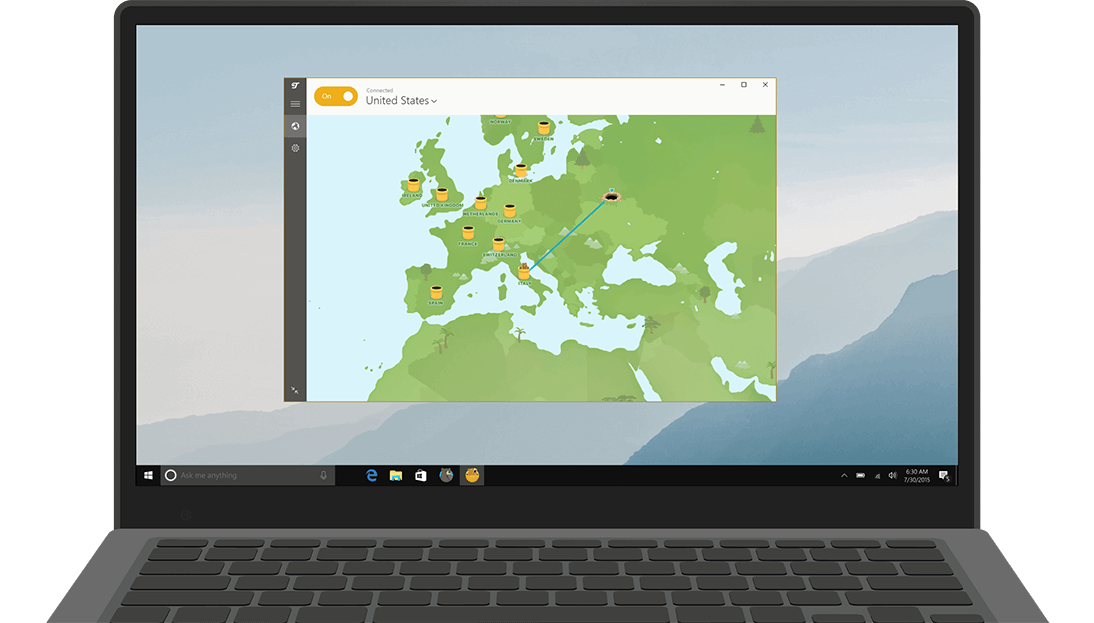
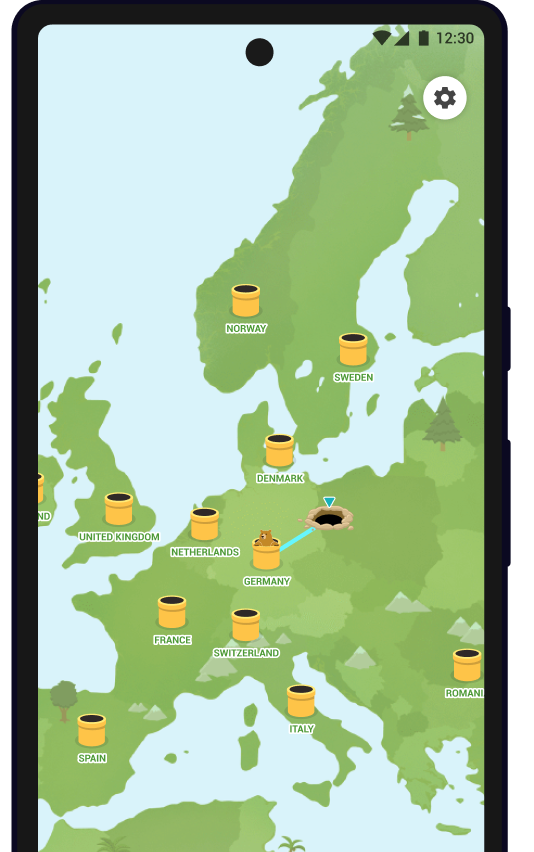
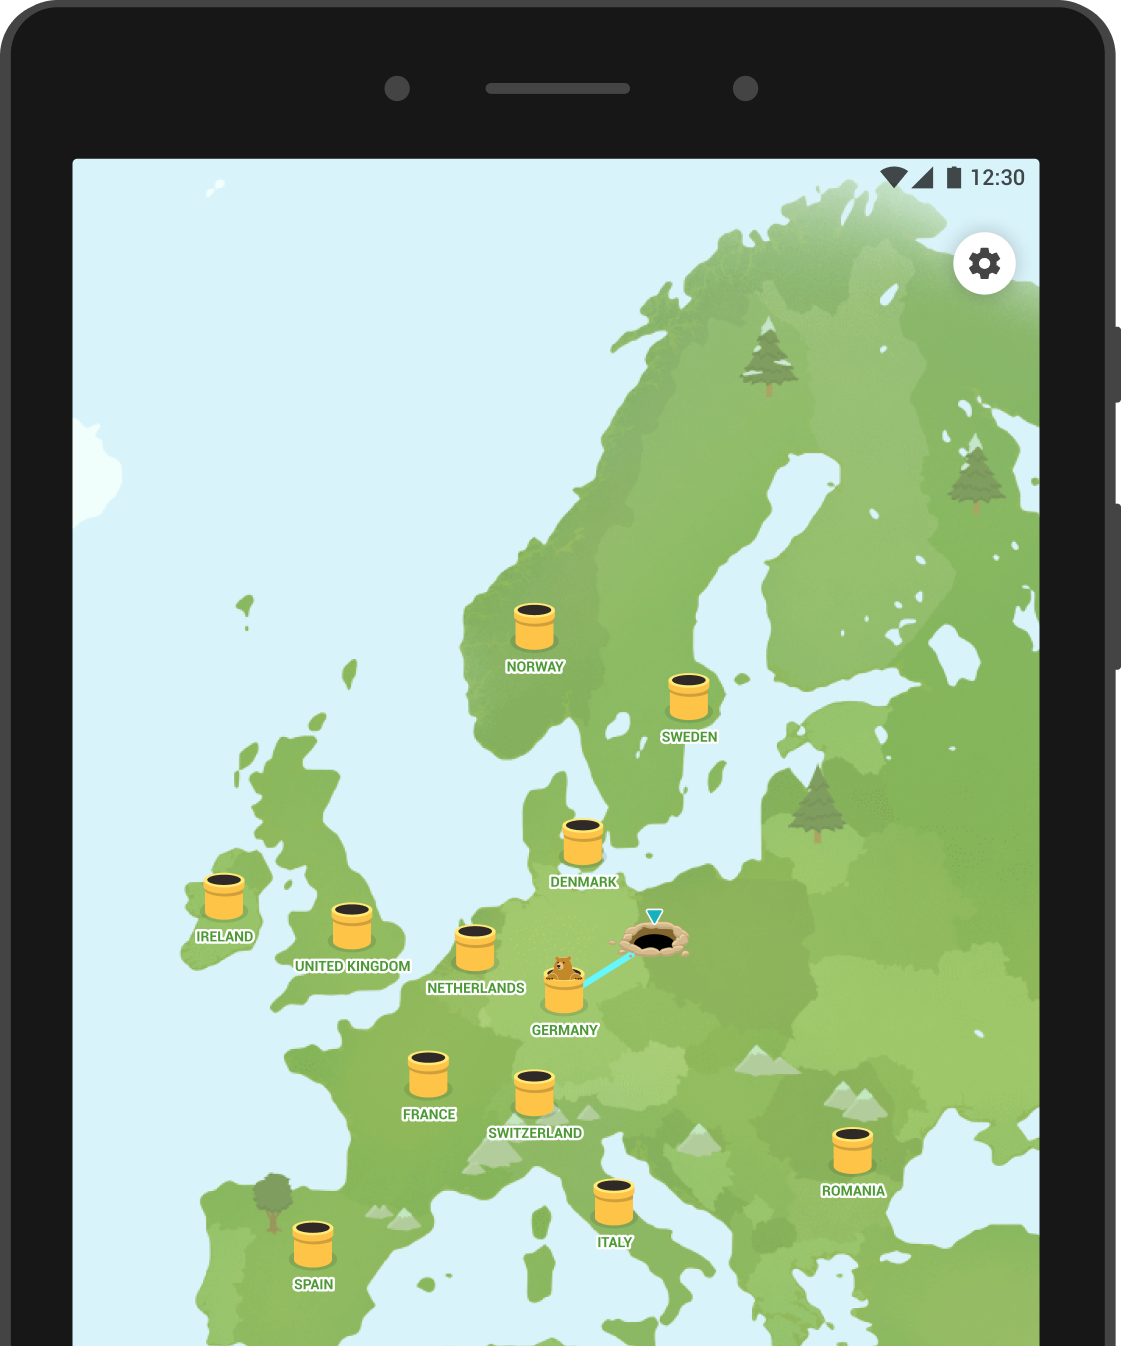
Just open the TunnelBear app, select a country, and flip the switch. Once you're connected, TunnelBear will work quietly in the background to keep your data secure.

Mac

Windows

iOS

Android
Hackers can steal passwords and data over insecure public WiFi. TunnelBear blocks them to keep you secure.
Some content is only available in certain regions. TunnelBear changes your virtual location so you can see it anywhere.
Some governments block popular websites and apps. TunnelBear unblocks them by changing your virtual location.
Network owners and internet providers can see everything you do online. With TunnelBear on, they can't see a thing.
Ad services use your IP address to track your behaviour across sites. TunnelBear stops them by assigning you a new IP.
Play on new game servers, prevent speed throttling, and unblock apps and websites on school and work networks.
Discover something new, or tunnel back home to enjoy your favourite websites and apps while travelling or living abroad.
Argentina
Australia
Austria
Belgium
Brazil
Bulgaria
Canada
Chile
Colombia
Cyprus
Czech Republic
Denmark
Finland
France
Germany
Greece
Hungary
Indonesia
Ireland
Italy
Japan
Kenya
Latvia
Lithuania
Malaysia
Mexico
Moldova
Netherlands
New Zealand
Nigeria
Norway
Peru
Philippines
Poland
Portugal
Romania
Serbia
Singapore
Slovenia
South Africa
South Korea
Spain
Sweden
Switzerland
Taiwan
UK
USA
Our global server network is optimized to let you surf and stream quickly. No throttling, no buffering, no fuss.
TunnelBear is the only VPN in the world to publish regular, independent security audits of our apps.
TunnelBear uses strong AES 256-bit encryption by default. Weaker encryption isn't even an option.
TunnelBear respects your privacy. We will never monitor, log, or sell any of your browsing activity. As the only VPN in the industry to perform annual, independent security audits, you can trust us to keep your connection secure.
©2026 TunnelBear LLC.
Grizzly regards from Toronto, Canada

Rawr! We use essential cookies to keep the cave running smoothly. With your consent, we’ll also use anonymized analytics and marketing cookies to improve your experience. Learn more about how we use cookies.

