How to Install TunnelBear on iOS

In this tutorial, we’ll show you how to set up TunnelBear for your iPhone and iPad on iOS 12 or newer.
Download the TunnelBear app
First, you'll have to download the TunnelBear app from the app store.
Step 1
Open the App Store
Tap the App Store icon on your iPhone/iPad
![]()
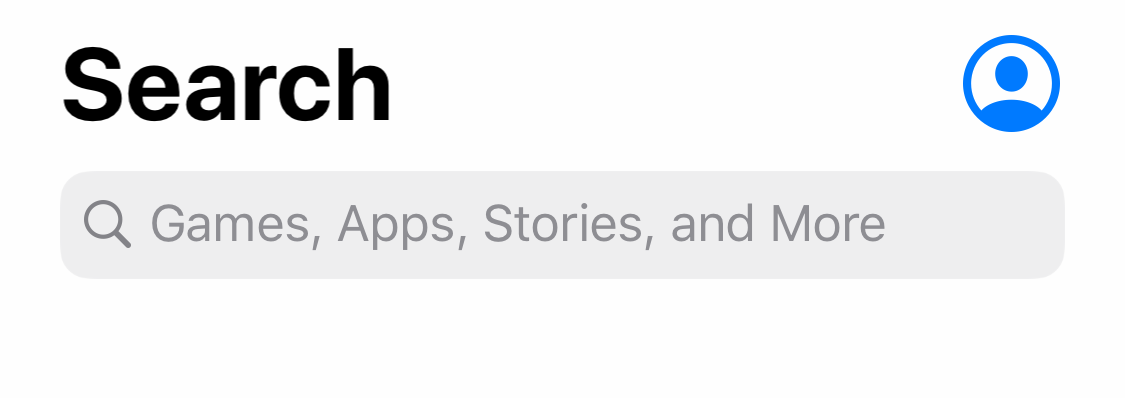
Step 2
Search for TunnelBear
Step 3
Tap the download button in the top right to download the TunnelBear app.

Step 4
Tap the TunnelBear app when it’s finished downloading
![]()
Step 5
Tap “Create a Free Account” if you haven’t already signed up for TunnelBear. If you have an account, skip to step 7

Step 6
Enter your email address and create a strong password then skip to step 9

Step 7
Tap “I Already Have an Account” if you've already signed up
Step 8
Enter the account email and password you used at signup

Step 9
Tap “Accept and Continue” to open the permission window for TunnelBear to add a VPN profile.

Step 10
TunnelBear will not work properly unless you tap “Allow” when TunnelBear asks for permission to add VPN configurations.

Step 11
Enter your device passcode to verify the new settings

Step 12
If you just signed up, check your email for a verification from TunnelBear and tap “Verify my account”. If you already have an account, you can skip to Step 14

Step 13
In the TunnelBear app, tap, “Yes, verified” to bring you to the map

Step 14
Tap country bar arrow in the bottom right corner of the screen to access the countries list

Step 15
Tap the country you'd like to connect through

You’re all set and ready to tunnel.
Your Bear is excited to help keep your internet connection secure, but if you have any questions about TunnelBear, our friendly Support Bears are always available.
Happy tunneling
